Send to Webhook nodes allow automations to:
send collected customer data
trigger external workflows
connect third-party systems
automate backend actions
These nodes are useful for:
CRM integrations
lead routing
support workflows
custom backend automations
Open the flow builder
To use a Send to Webhook node:
Open your AI Agent workspace
Go to Automations
Open the Flows tab
Create or edit a flow
Inside the flow builder, you can connect workflows to external systems.
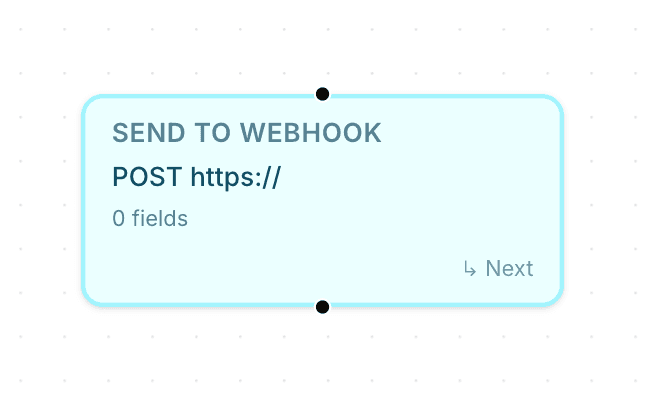
Add a Send to Webhook node
To send workflow data externally:
Click + Add Node
Select Send to Webhook
Connect the node to your workflow
This creates a webhook step inside the automation flow.
Configure the webhook URL
Inside the node settings:
Enter the webhook URL
Save the configuration
The webhook URL defines where the workflow data should be sent.

Use workflow variables
Webhook nodes can use values collected during the flow.
Examples may include:
customer name
email address
phone number
custom form inputs
These values can be passed into the webhook request.
Combine webhook nodes with other automation steps
Send to Webhook nodes work well together with:
Collect Input
AI Actions
Branch
Human Handover
This helps create more advanced workflow automations.
Test the webhook workflow
Before enabling the automation publicly:
Run a test flow
Submit sample customer data
Verify the webhook request is sent
Confirm the external system receives the data
Testing helps identify configuration or integration issues early.
Keep webhook workflows reliable
For better workflow stability:
validate important fields first
test every workflow path
avoid unnecessary complexity
monitor external systems regularly
Reliable integrations usually create smoother automation experiences.
PRO TIP:
Always test webhook workflows using sample customer data before enabling them in production conversations.