Send Message nodes allow your workflow to:
display text messages
guide users through flows
explain next steps
provide instructions
structure conversations
These nodes are commonly used throughout automation workflows.
Open the flow builder
To use a Send Message node:
Open your AI Agent workspace
Go to Automations
Open the Flows tab
Create or edit a flow
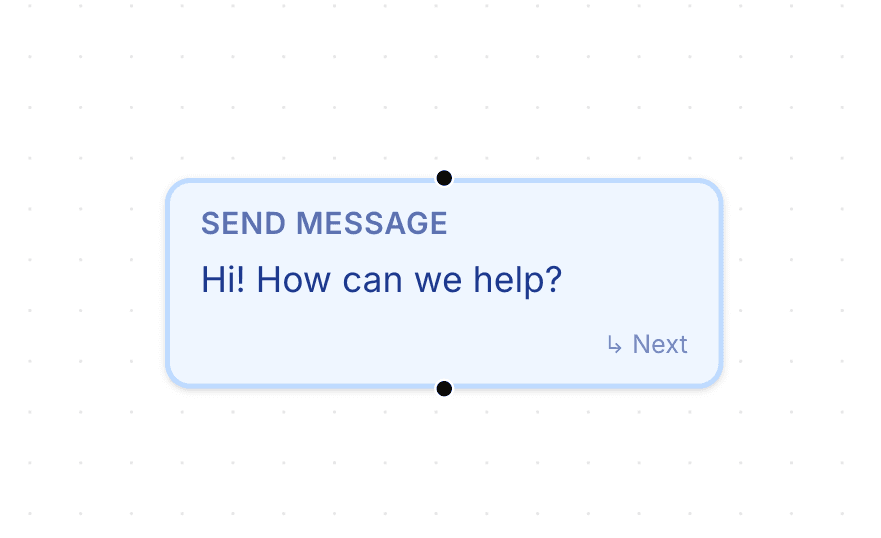
Inside the flow builder, you can add message nodes to the workflow.
Add a Send Message node
To add a message step:
Click + Add Node
Select Send Message
Connect the node to your flow
This creates a message step inside the conversation.
Configure the message content
Inside the node settings:
Enter the message text
Save the node configuration
This message will appear to users during the flow.

Use Send Message nodes for guidance
Send Message nodes are useful for:
welcoming users
explaining workflows
confirming actions
providing instructions
guiding next steps
Short and clear messages usually create better conversation experiences.
Combine messages with other nodes
Send Message nodes work together with:
Collect Input
Options
Branch
Human Handover
Send to Webhook
This helps create more structured workflows.
Use variables inside workflows
Send Message nodes can appear alongside workflow variables and collected inputs.
This helps create more dynamic conversation flows during automations.
Test your message flow
Before enabling the automation publicly:
Run a test conversation
Review message clarity
Verify flow sequencing
Confirm the conversation feels natural
Testing helps identify confusing or repetitive messaging.
Keep messages concise
For better conversation experiences:
use short messages
avoid large paragraphs
guide users clearly
keep workflows easy to follow
Simpler conversations are usually easier for customers to complete.
PRO TIP:
Treat automation messages like real conversations. Clear and natural wording usually improves completion rates significantly.